DIY Projects/Mods - Engine Bay
Steering Shaft Upgrade
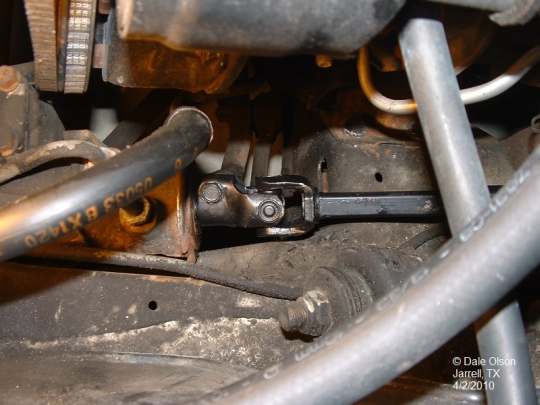
If your steering wheel has some play in it and you have adjusted the steering box but it still doesn't feel right maybe your "rag joint" steering coupler is shot. You can get repair parts at most auto parts stores to fix the rag joint. But, you may want to consider just replacing it with the Jeep version that is soild shaft with a "U" joint the replaces the rag joint.
OBTW - I picked the Jeep sterring shaft off the For Sale section of MonteCarloSS.com.
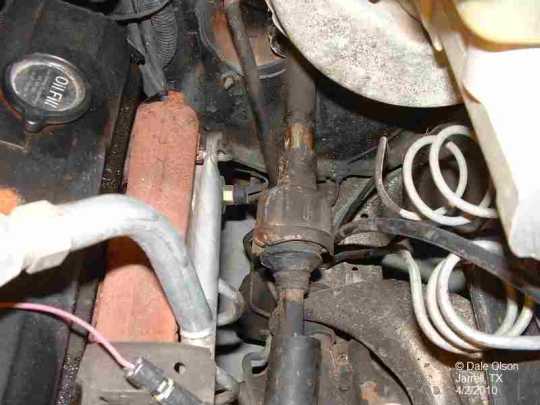
Before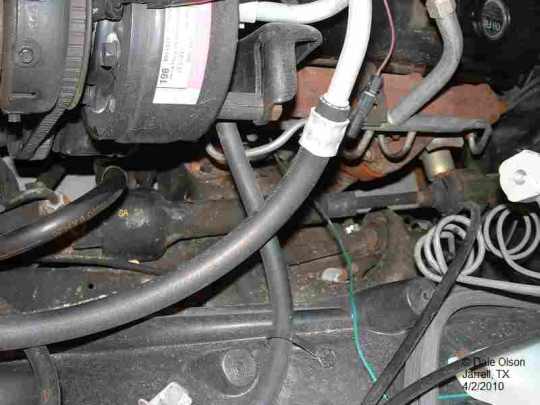
- Small ball peen hammer
- 11 mm, 13mm, 15 mm sockets/wrenches
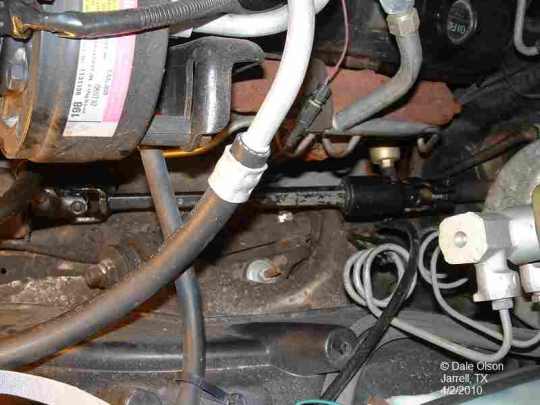
NOTE - Center the steering wheel before you remove thesteeering shaft!
The rag joint is covered with a plastic shield that needs to be slid back to allow removal of the bolt that holds the shaft to the steering box.
Remove the bolt and using the hammer tap the shaft back to release it from the steering box spline.

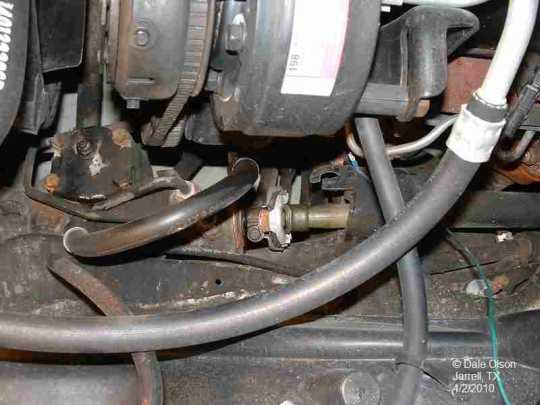
Now go to the other end and repeat the process to remove the shaft.
Now that you have the orginal shaft removed, test fit the new shaft. You may find that the retaining bolt does not slide through the top mounting hole correctly. I just used a small die grinder remove a little metal. You should now be able to install the new shaft.
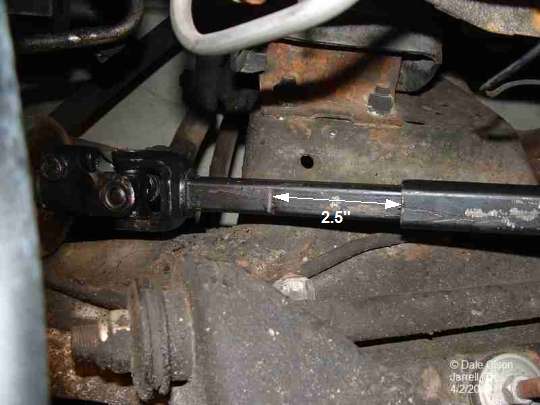
But, before you do the install be aware that the Jeep shaft is "staked" and you will not be able, in most cases, to slide it in/out by hand. Mine had to be moved 2.5" to make the connections.
Staked Shaft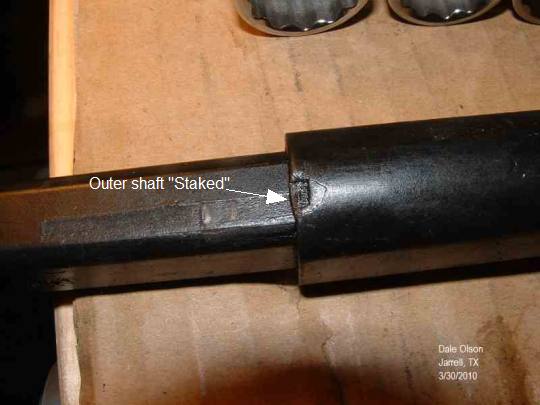
Attach the upper end of the shaft and tighten the clamp bolt
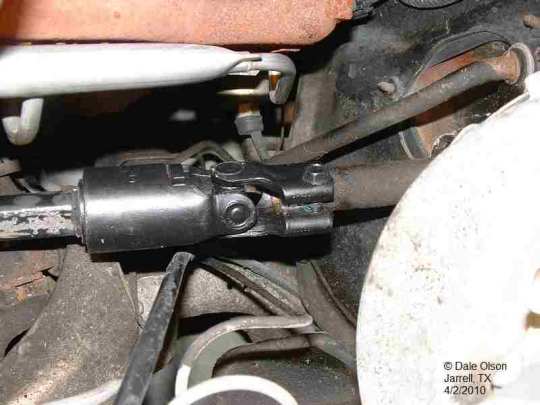
Now line up the lower end, tap it into place, install the bolt and tighten. This sounds fairly simple but it can be a PITA because you have no room to swing the hammer.
Recheck both bolts and then road test. Your Done!
Return to Projects and How To's
Remove Air Pump
I had intended to save the Air Tubes until I found 2 that had holes in them. So I just used my air saw an cut them off. Now I had easy access to the fittings on the exhaust manifolds. I hit them with some Kroil and let it sit for a day. I was able to remove all the air tube fittings with no problems. NOTE - A 50/50 mixture of ATF & Acetone is good alternative.
I plugged the air tube holes in the exhaust manifolds with 1/4x20 brass plugs IIRC. I added a touch of Never Seize to the threads just in case.
I also had to mod the heat riser as it is hooked into the air pump system. I should have had it removed when I did the exhaust
Lastly you will need a couple vacuum caps and a couple ty wraps
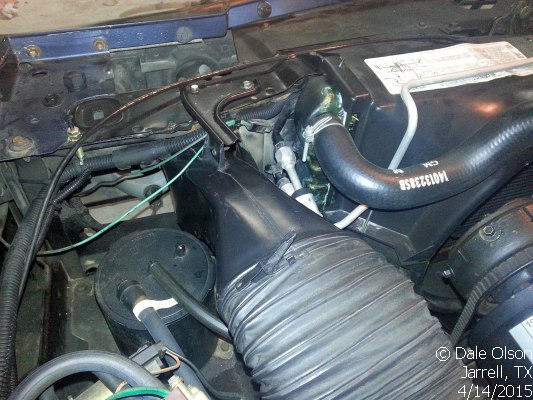
Drivers Side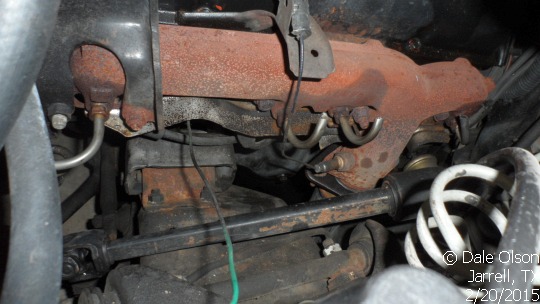
Return to Projects and How To's
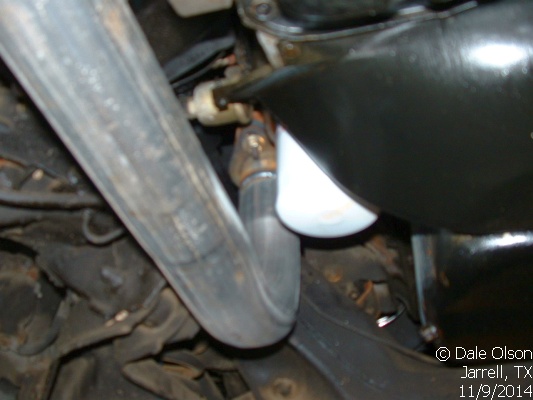
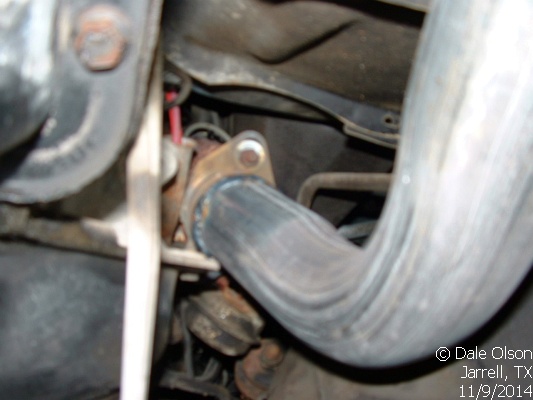
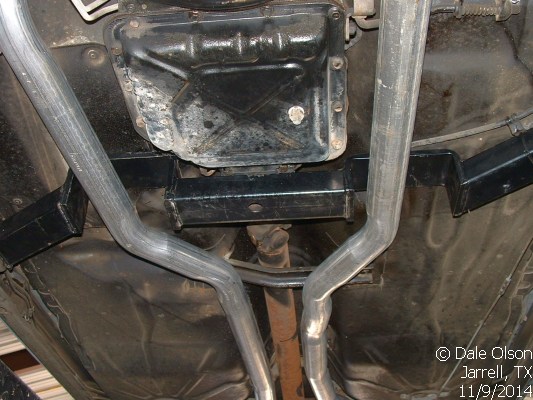
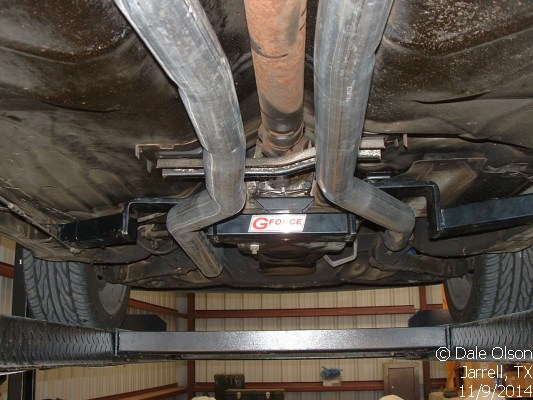
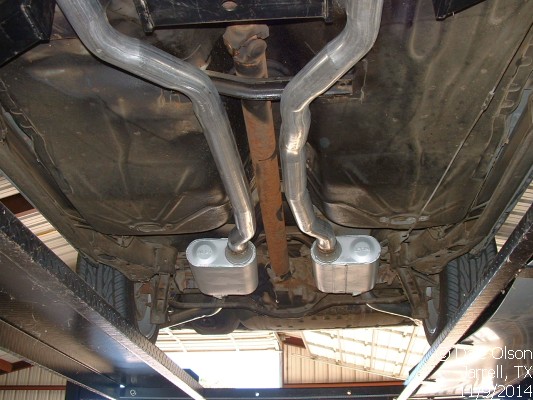
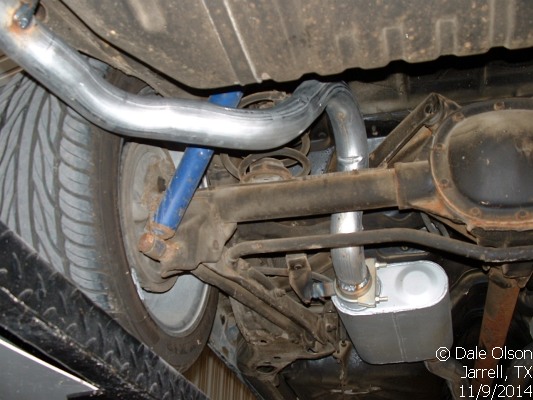
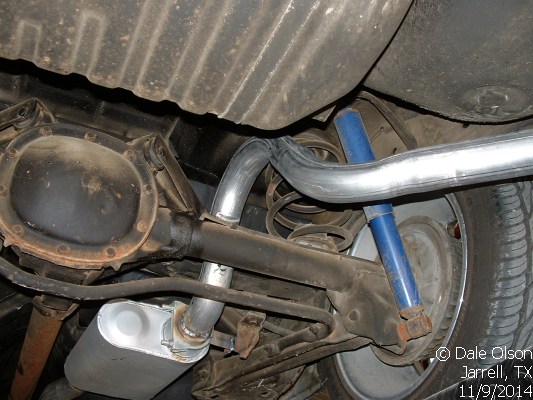
Dual Exhaust
I have been putting off fixing the exhaust since I got the car. Well finally I was forced to fix it as they would not pass it on a safety inspection... Say what? The exhaust is only 31 years old, rusty and full of holes. lmao
After talking to my local muffler guy he said he would be able to bend me a custom exhaust with Flowmaster knock offs for about the same price as a kit from Summit or Jegs. There is NO emissions check in Texas for a cars over 25 years old. So, that means I can 86 catalytic converter. But, I actually kept it as it is still in working order, just looks bad.
I also decided to install a new trans support I got from Autozone & the GForce transmisson cross member that I got off the For Sale section of MonteCarloSS.com forum.. This allowed me to run a true set of duals.
Being that I didn't have the luxury of having the TES headers ready to install, I just removed the whole exhaust system from the exhaust manifolds back. Over all it is a nice system... no clamps 100% welded. Great sound and just a bit of drone around 2,500 rpm.
Return to Projects and How To's
Dual Snorkel Air Cleaner
After I removed the Air Pump I was able to install my Dual Snorkel Air Cleaner that I got on swap with one of the guys on the MonteCarloSS.com forum.
This was a plug & play change. All I had to do was mount the grill air duct backet with two self tapping screws. Now drop in a new air filter, mount the air cleaner, attach the air duct hoses and install the chrome lid.
It should be noted that heat riser hose and vacuum lines were removed and/or capped. This air cleaner mod would NOT do well in a cold climate.
Dual Snorkel Air Cleaner Installed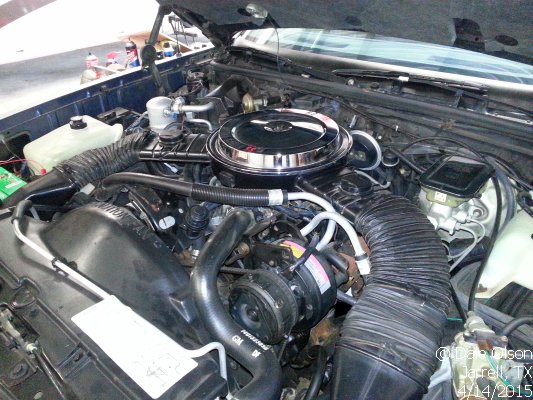

Return to Projects and How To's
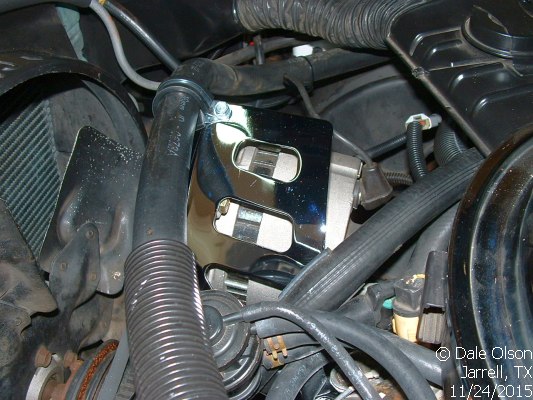
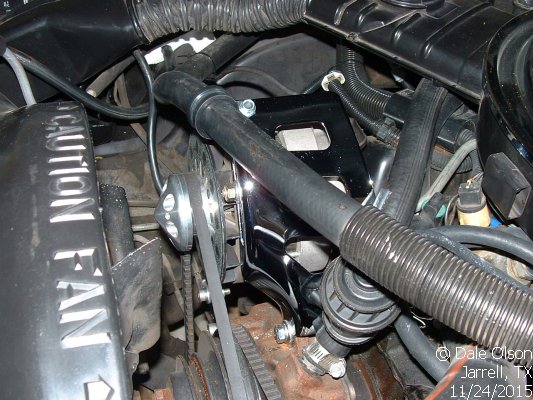
SI to CS Alternator Upgrade
Once I got the H4 headlight conversion done I realized that I needed to upgrade the alternator as the power requirements are high with H4 headlights and audio upgrades.
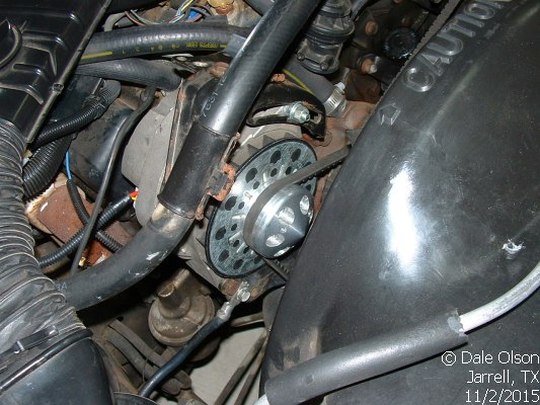
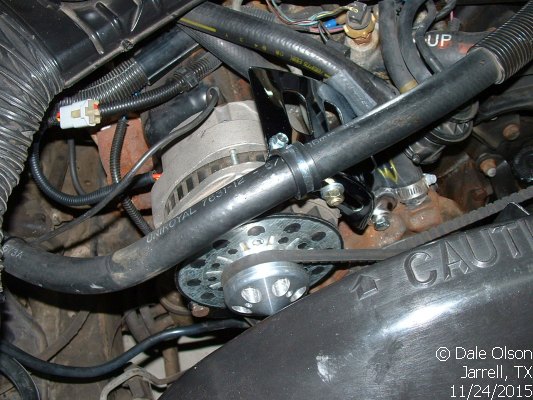
The CS144 alternator is probably 25% larger than the SI version. But, it puts out 140 amps compared to 65 amps for the SI version.
This is a faily simple swap. But, it does have some issues you need to deal with.
- CS144 alternator from a 94/97 Impala
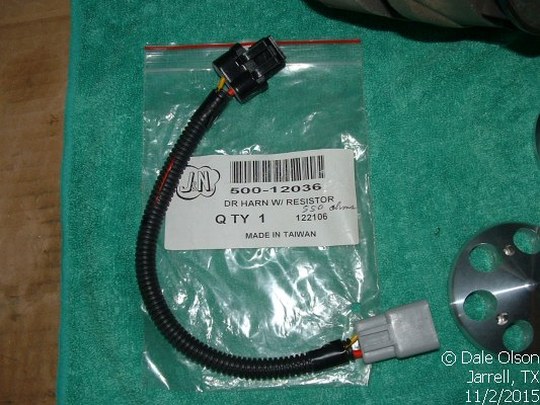
- You will need an adapter pigtail to connect the CS allternator to the stock
harness.
- AC Delco 8078/GM 12102921 if you have a volt gauge
- AC Delco 8077/GM 12083462 if you have an "idiot" light.
- Stock brackets will not work as installed do to the size & mounting differences.
- You have to remove the bolt from the alternator baracket that attaches to the
intake manifold & re-install it as it secures some ground wires.. This change will
allow the bracket to move to install the hold down bolt.
NOTE - Some folks remove the alternator bracket & use a HD turnbuckle. - The CS alternator upper mount bolt hole is NOT threaded so you wil have to use a nut & bolt to secure it.
- More than likely you will have use washers as shims to mate the alterantor to the stock bracket.
- Depending on what pulley you have (V belt or serpintine belt) you may have to swap the pulleys. This wll more than likely require a impact wrench to remove the nut on the alternator.
- There is NO thread mount provsion on the CS alternator to secure the spacer that is used between the block & alternator.
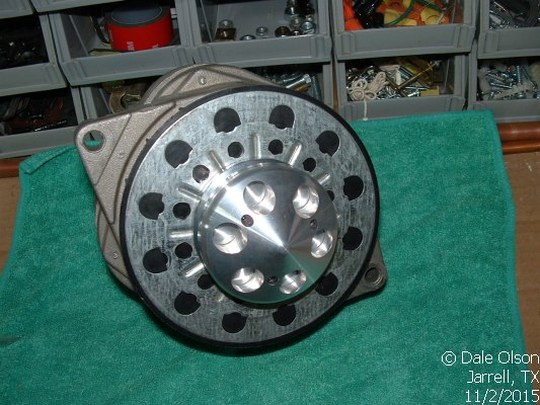
I decided to update the pulley with a billet version with a cover. You can pick these up for $20 or so from Jeg's or Summit.
Parts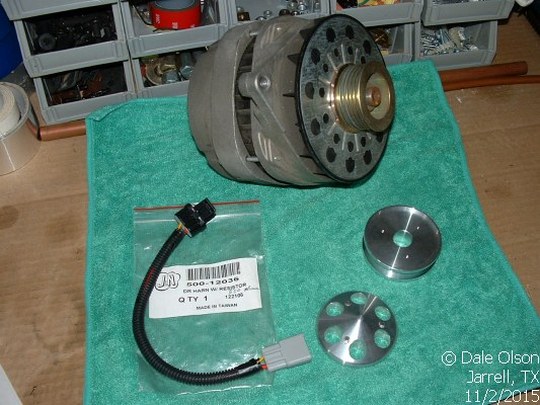
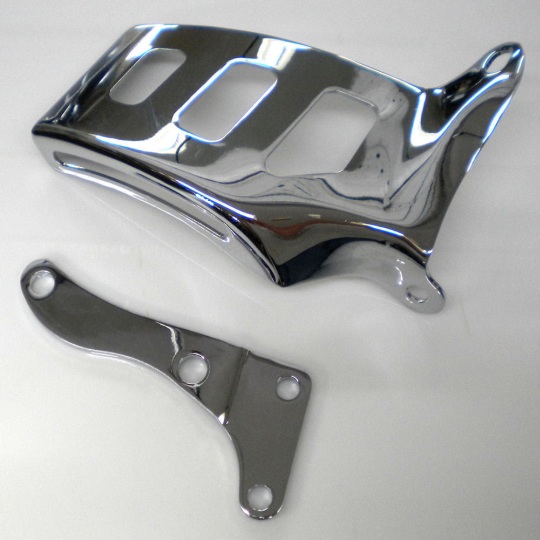
The stock brackets really needed to be replaced. So back to the Internet for more parts. I picked a polished set of upper and lower alternator brackets for about $20. Kind of PITA to install as you have to start over by removing the alternator, stock brackets, install the new brackets, align the alternator, adjust the belt, hook up the electrical and test.
Parts
Return to Projects and How To's
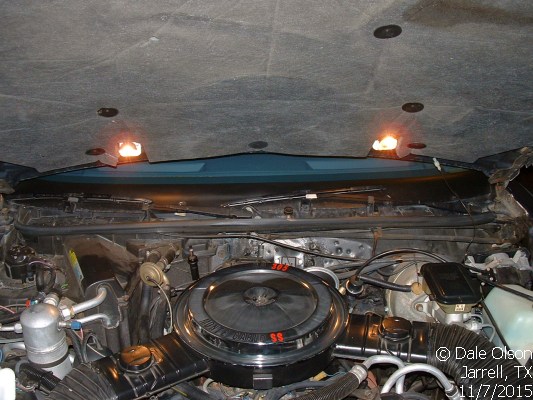
Hood Lights
While I was adding the 2nd trunk light I decided to add a 2nd light to the hood as there was space for it. I picked up a spare light socket off the For Sale Forum at MonteCarloSS.com. Like the trunk light the install was nothing more than running a wire to the other socket and a self tapping screw.