
DIY Projects/Mods - Exterior
Wheels Upgrade
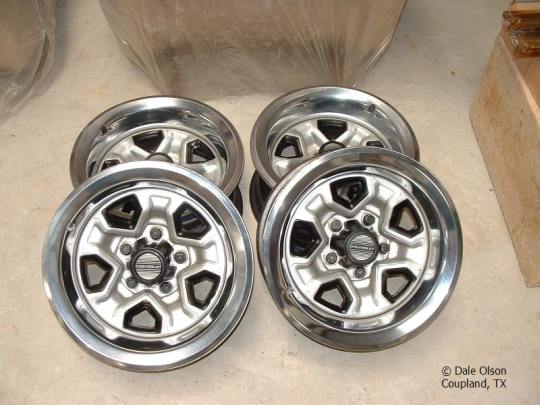
Although the stock 15" Monte Carlo SS wheels look pretty good, a set of after market wheels offers a lot more than looks. You can go to 16", 17", 18" all the way up to rims that are 26" tall. Each has its advantages and disadvantages.
So before you buy you may want to consider the following:
- Rim size - height
- Rim Size - width
- Rim Offset
- Rim Back spacing
- Tire Size
- Tire Date Codes
- Style of rim
- Cost
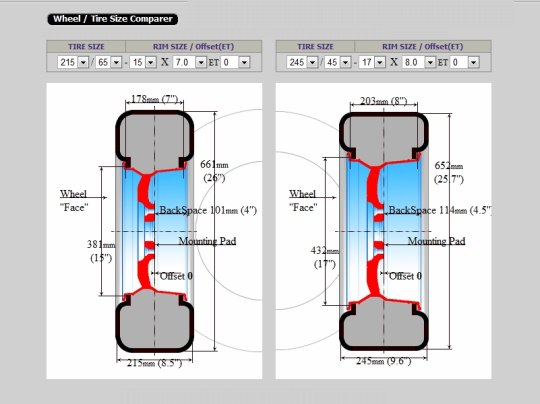
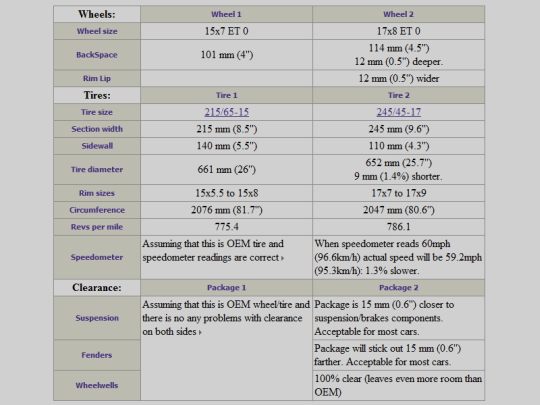
I wanted a rim that would hold a fairly large tire that would fit in the wheel well, not interfere with my turning radius and not mess up the speedometer reading. I found a really neat tool to compare a stock rim and wheel combo to what you think you want at Rims-N-Tires.
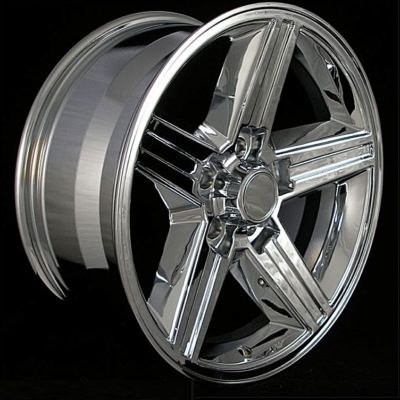
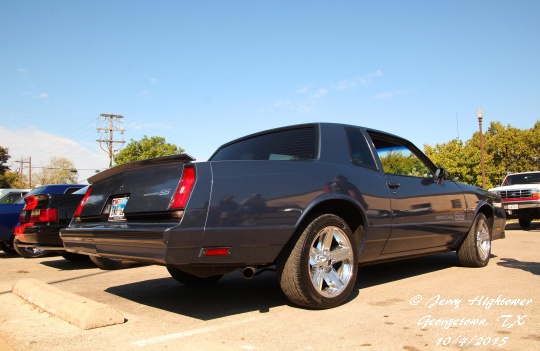
For me I wanted something that looked good and was functional. So, I started by searching the Internet. I found something on Ebay the caught my attention. There is a company called Custom Wheel Market that advertised a complete 17"x8" wheel and tire package (mounted, balanced, center caps, lug nuts and shipping) for about $1,049 (Feb 2010).
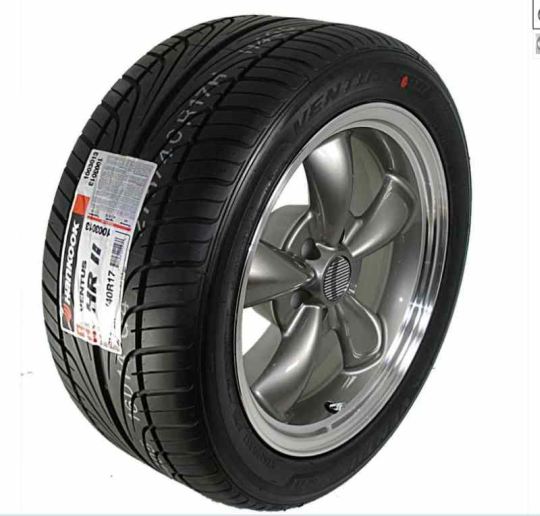
These wheels are copies of American Racing Torque Thrust wheels and come in Grey, Black, Silver and Chrome ($100+ extra). They also offer other styles like the IROC Z wheels.
Needless to say these caught my eye. But, I really did not like the idea of dealing with a company that was not local should I have problems or needed service like rotate and balance. So, I took this offer to my local Discount Tire dealer and he was able to match the price, got them ordered and installed. I got the complete setup of 17x8 rims and 245/45x17 tires for $1,190.13 out the door with a FREE set of Gorilla wheel locks.
Be sure to check you tire date codes as one of mine was 5 years old. Discount Tire ordered a new one and installed asap.
Update 2015
If I had it to do over again I would go with 18" wheels. Why, availablity?
Sonehow I bent a wheel and I looked for a replacement and there were none to be
found anywhere close to what I paid for the orginal rims. So I had the wheel straighten
for $125.
OBTW - I sold the tires and wheels on the For Sale section of MonteCarloSS.com. I had a second set of rims for my 1st SS that I also sold on the same ad. So, my total out of pocket $$ was not all that bad.
Before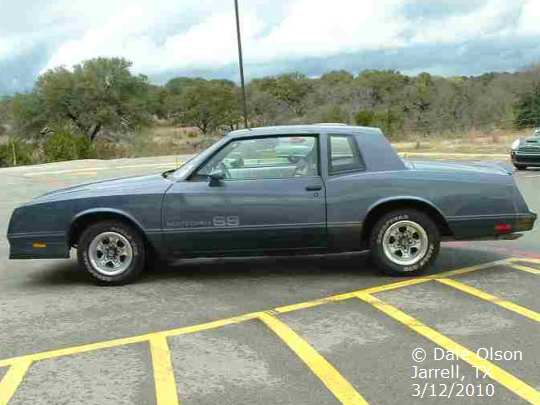
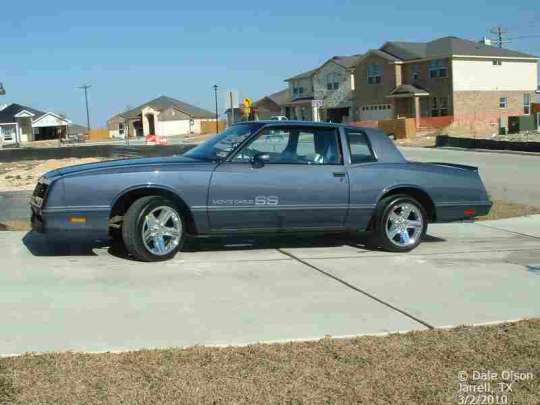
Remove Accent Stripes
I always thought the accent stripes where not necessary. So I took them off.

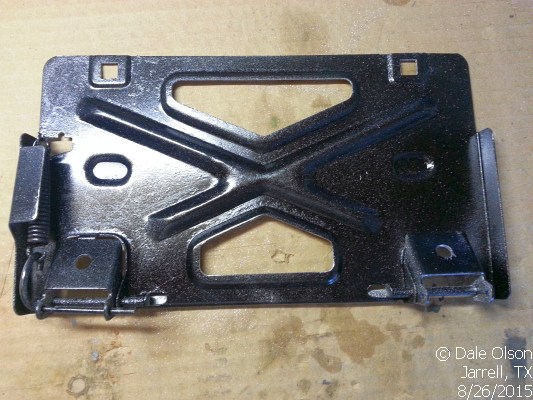
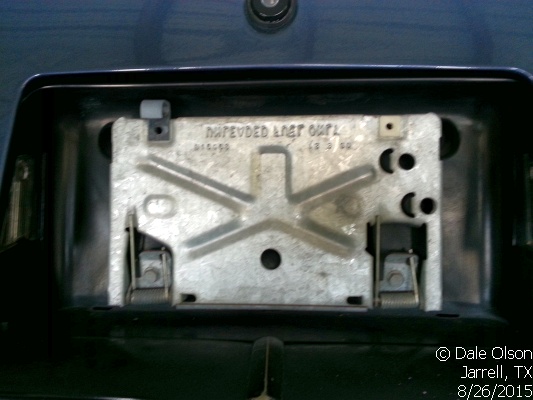
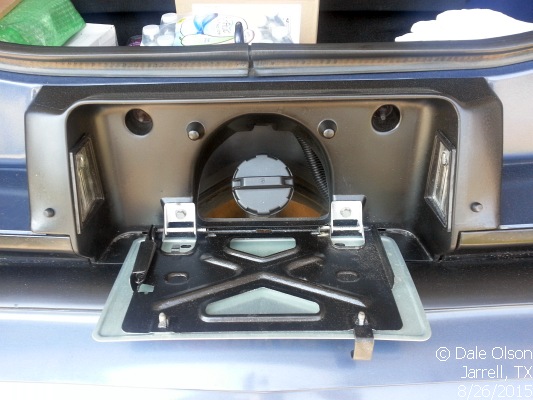
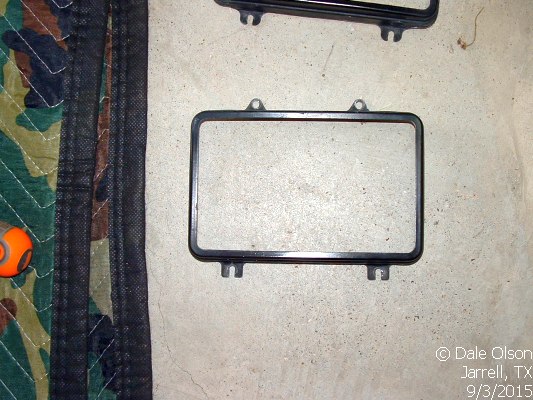
Flip Down rear License Plate
Having owned 4 Monte Carlo SS's I hated not having a flip down license plate for putting gas in the car. You had to use th gas cap to hold the plate down. What PITA. So, on this Monte I installed one off an F body car that I got off the For Sale section at MonteCarloSS.com.
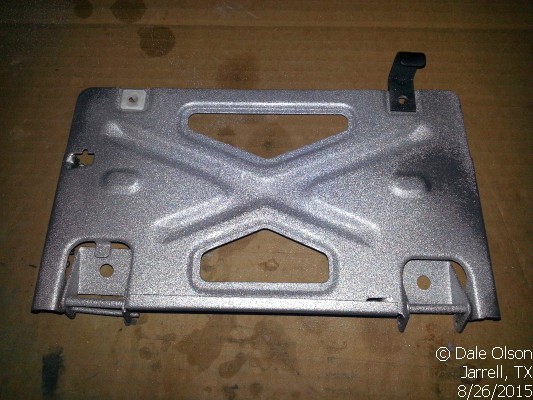
First thing was to clean it up and paint it.I used my
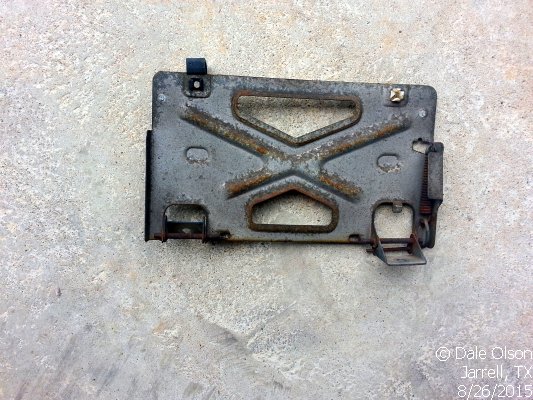
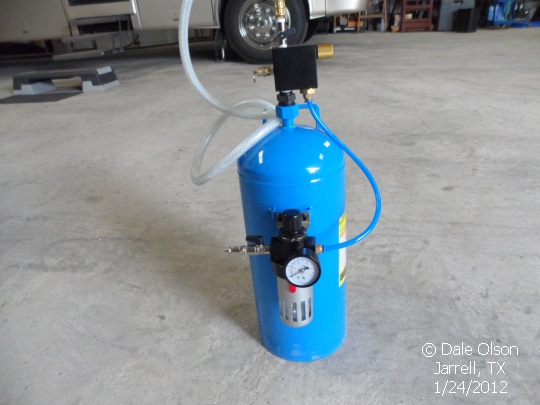
Used my Harbor Freight Soda Blaster to get 30 years of crud off both sides.
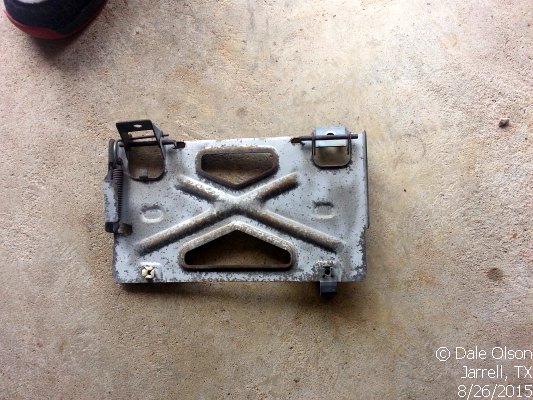
Now hit with a little rattle can paint for Wal Mart. lol
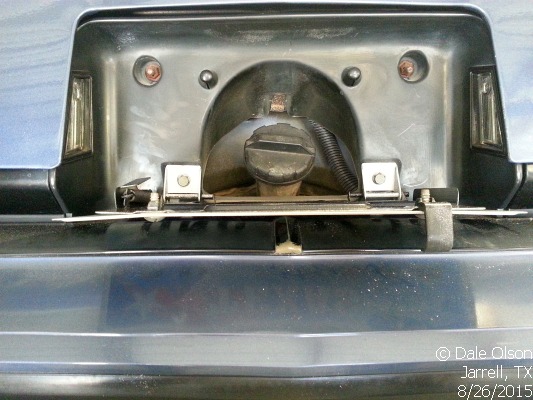
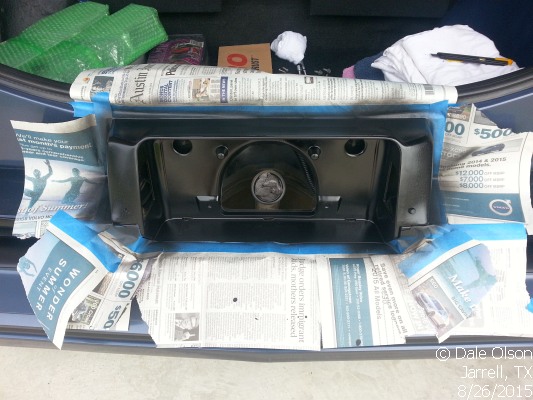
Paint Gas Filler & Fascia Trim
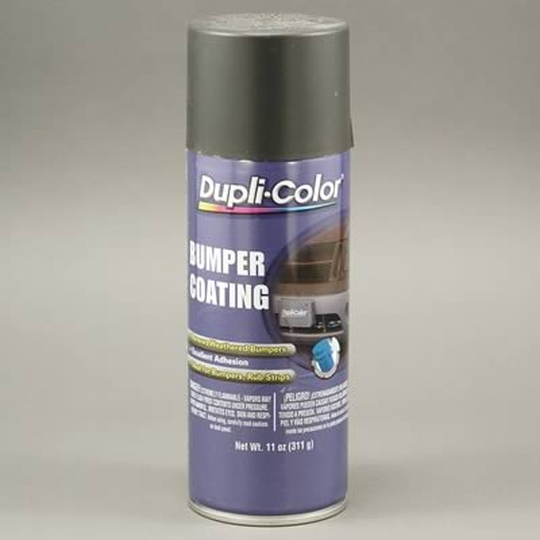
After I added the Flip Down Plate I realized that the gas filler area and rear fascia trim needed to be painted. So, got me a can of Duplicolor Bumper Coating ($7) and masked off the area and sprayed a couple of coats.

After I removed the the masking I notice that the gas cap looked shabby, so I hit it with Duplicolor Bumper Coating. I also noticed I was missing a trunk lid bumper. What's the likelyhood of finding one of those, slim & none. So, I started a hunt on the internet and found them at RockAuto. But, not as Trunk Lid Bumpers but as Glove Box Bumper (part # SB78A).
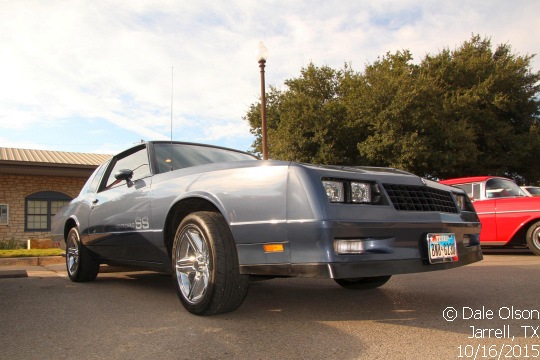
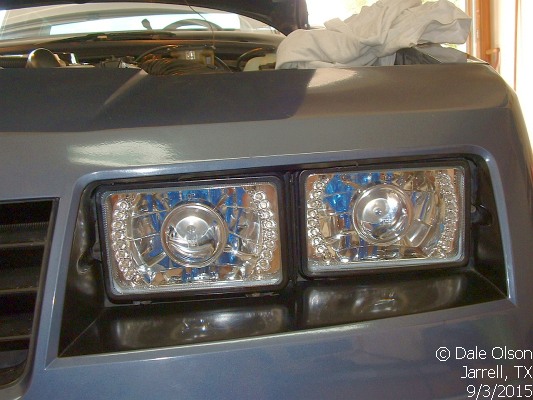
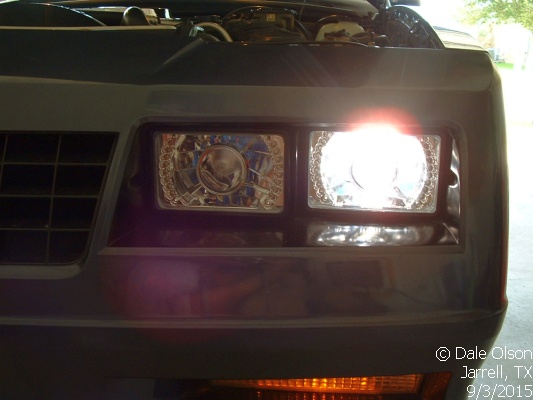
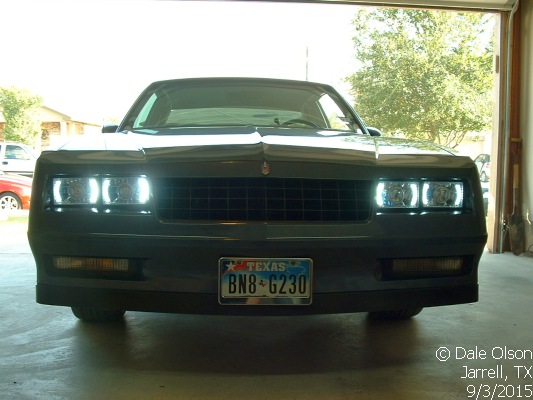
4656 to H4 Conversion & Halos
I have looked at upgrading the Halogen headlights to a H4 system for years and never made the switch. But, I found a set that meets my requirements. H4 Projectors with side halos. I found them on FleaBay from Octane Lightng for $110 for 4 plus S/H. I also picked up the relay kits for the halos and headlights from Octane Lighting. Pretty much all you need to wire them just about any way you want.
Stock Headlights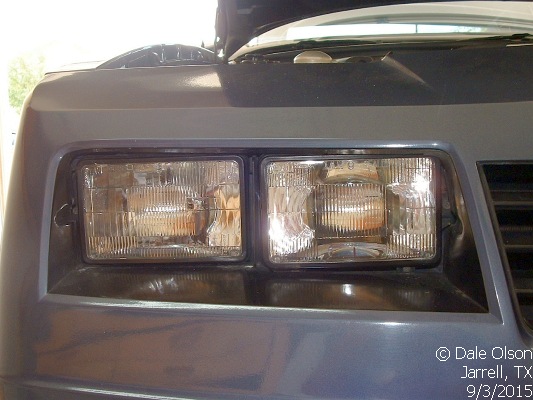
First you need to remove the stock lights.
- Disconnect the ground wire from the battery.
- Rmove the plugs from the back of the lights.
- Rmove the bezels fom the lenses.
My Monte is a stubborn old gal and does not give up anything easy. The front fascia might be flexible but getting the screws out is PITA. The lower ones just need to come out a few turns. The upper ones have to come out.
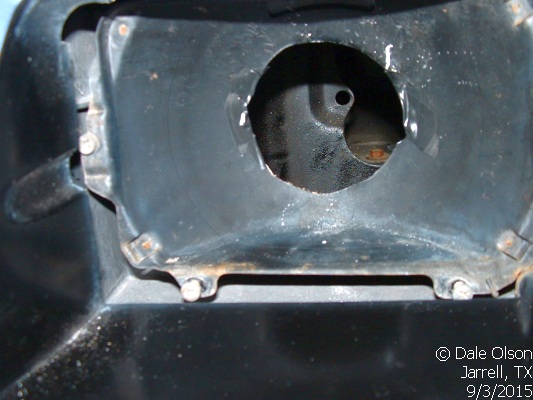
Now that you have the lenses out you can install the new ones and wire it up. Not so fast Batman the new lenses don't fit in the hole.
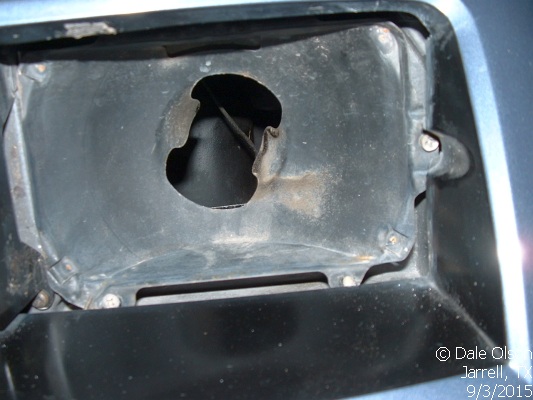
So, how to do the dirty deed of cutting the headlight bucket so the new lenses fits. Either a hole saw or and air saw. Harbor Freight to the rescue. My onsale dual tank air compressor, hose reel, 50' of hose and a air saw made it fairly easy.
Once I had all headlight buckets modified it was time to put the new lights back in. You think getting the old ones out is a PITA, the new ones are even a bigger PITA because the huge lump on the back of the light that holds the H4 bulb. You most likely will have to remove the 2 lower screws to get them in with the bezels on.
I am a little older than most you guys so I am somewhat handicapped so to speak. Glasses with bifocals, never enough light, difficultly getting off the garage floor and thin skin that bleeds just looking at the car. Oh yea I need a few extra potty breaks.
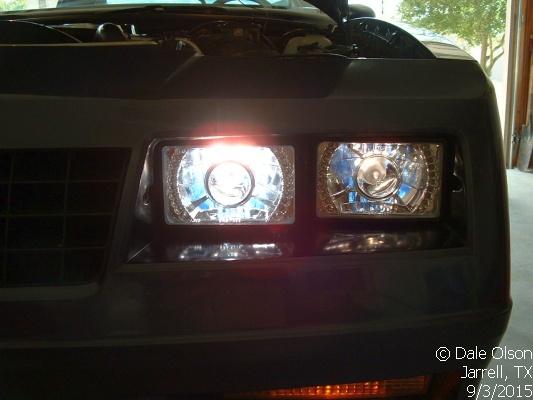
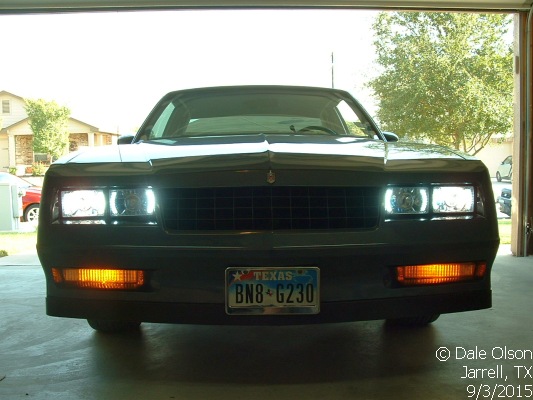
But he is the final result....using the recommended changes to the stock headlight plugs.
But, be aware that do to the high wattage of the H4 bulbs (60w/55w) you most likely will see the headlight switch heat up, go off and come back on when it coools off. This is not good when driving at night. You may also see you stock headlight sockets/plugs melt/distort from heat generated by the H4 bulbs especially when you have all 4 lights on. A relay harness and ceramic sockets/plugs are recommended.Lastly if you have any other high powered equipment installed you will probably need to upgrade the alternator to 100 amps or better.

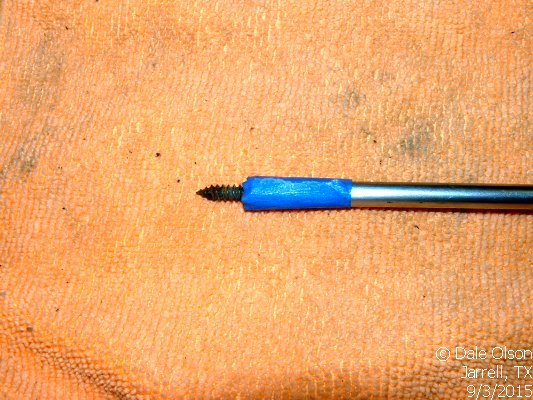
NOTE - Getting the screws back in that hold the bezels on and holding the facia down at the same time is dang near impossible with dropping the screw a few times. But, if you use a magnetic screw driver and some painters tape it's so hard.
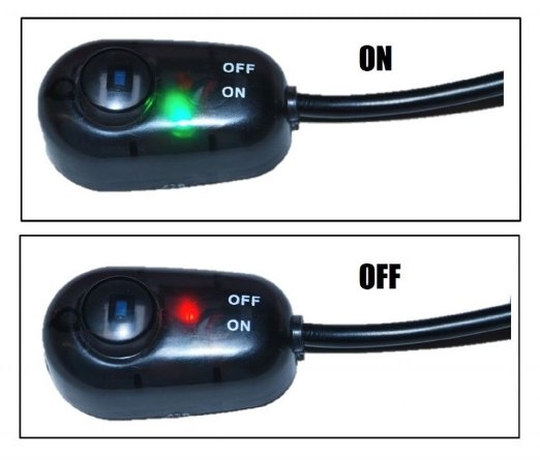
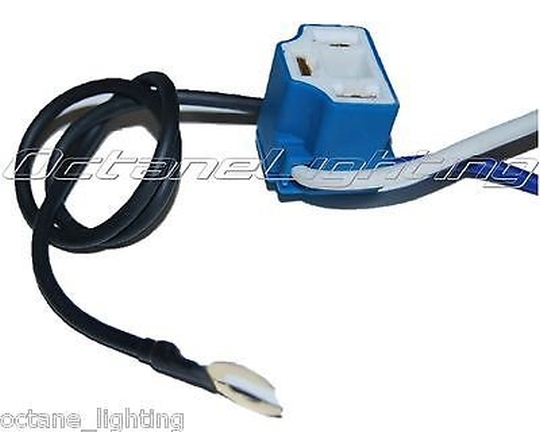
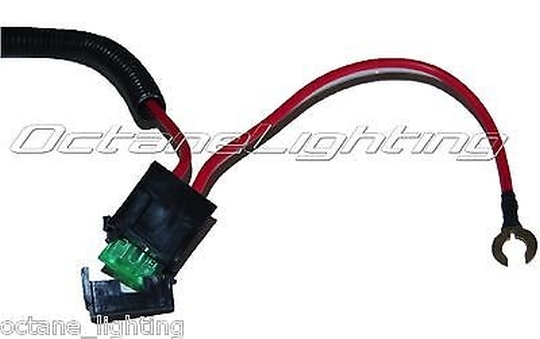
Halo Relay Wiring
I ordered a Halo Relay Harness from Octane Lightng instead of building my own.The cost is about the same after you get all the parts... relay, relay socket, fuse holder, connectors, wire, lighted switch, cable cover etc. The difference is that there no lengthening or shortening of any wires.
Halo Relay Kit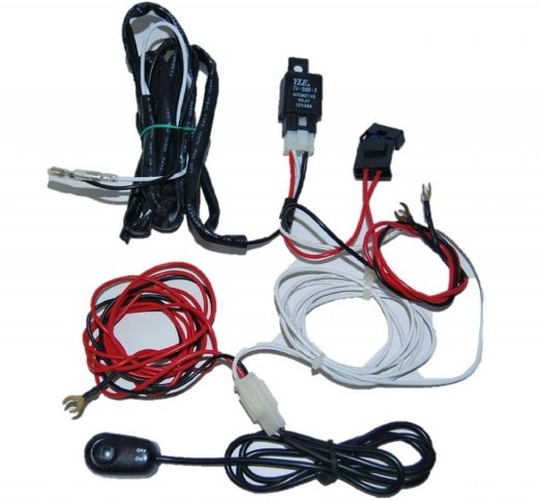

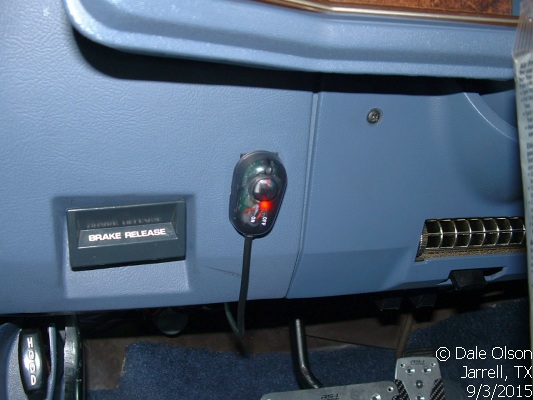
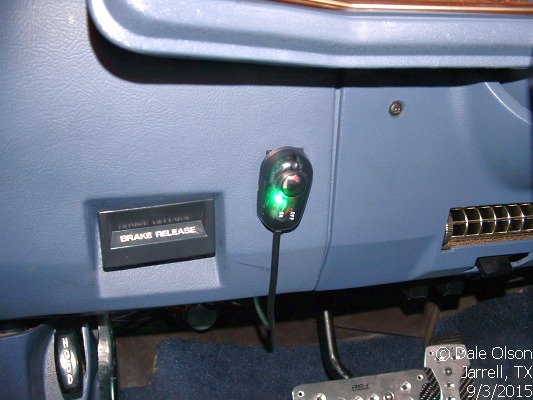
I installed the relay harness on the passengers side of the radiator air box as it was the closest to the battery. I ran the signal/switch wire and driver side halo wires down the air box, across the bottom of the air box and up the other side. The wires are all inclosed in cable cover from Harbor Freight, secured with cable clamps and self tapping screws.
The signal/switch wire runs along the drivers side fender, thru the firewall to the fuse panel. The power wire is fed from an ignition source (key on). This powers the lighted switch and provides the signal to the relay.
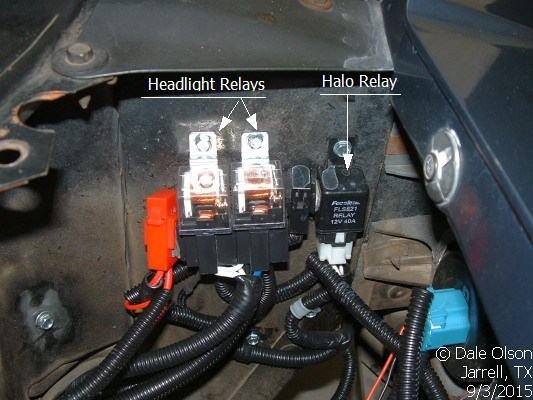
Headlight Relays Wiring
Headligh Relay Kit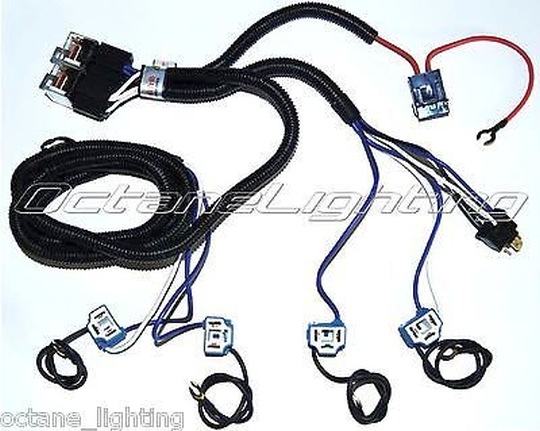
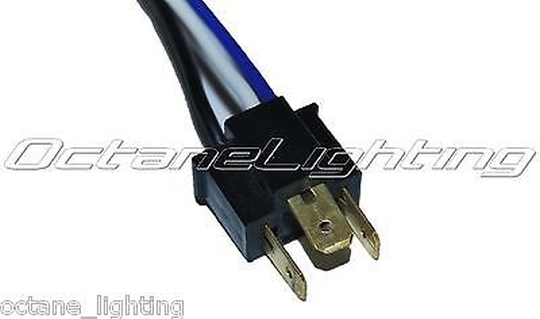
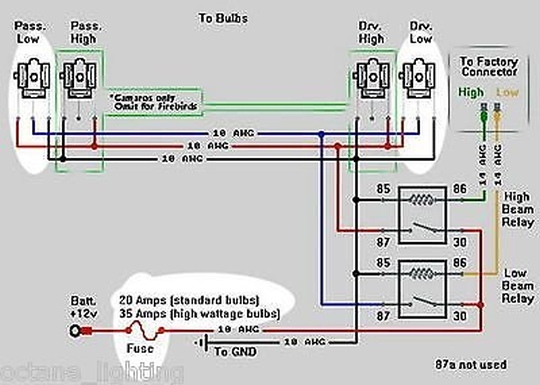
The headlights are wired very similar to the Halos. But, you use 2 relays to control the low/high beams. One relay contols the low beams and the other controls the high beams. The signals are taken from one of the orginal headlight connectors. I installed the relays right next to the Halos relay on the raditor air box. The drivers side wires/sockets were run just like the Halo wires, down the side of the air box, across the bottom and up the other side. Again they were inclosed with cable cover & cable clamps to hold thm in place.

Now take it for night test drive and adjust the aim points